
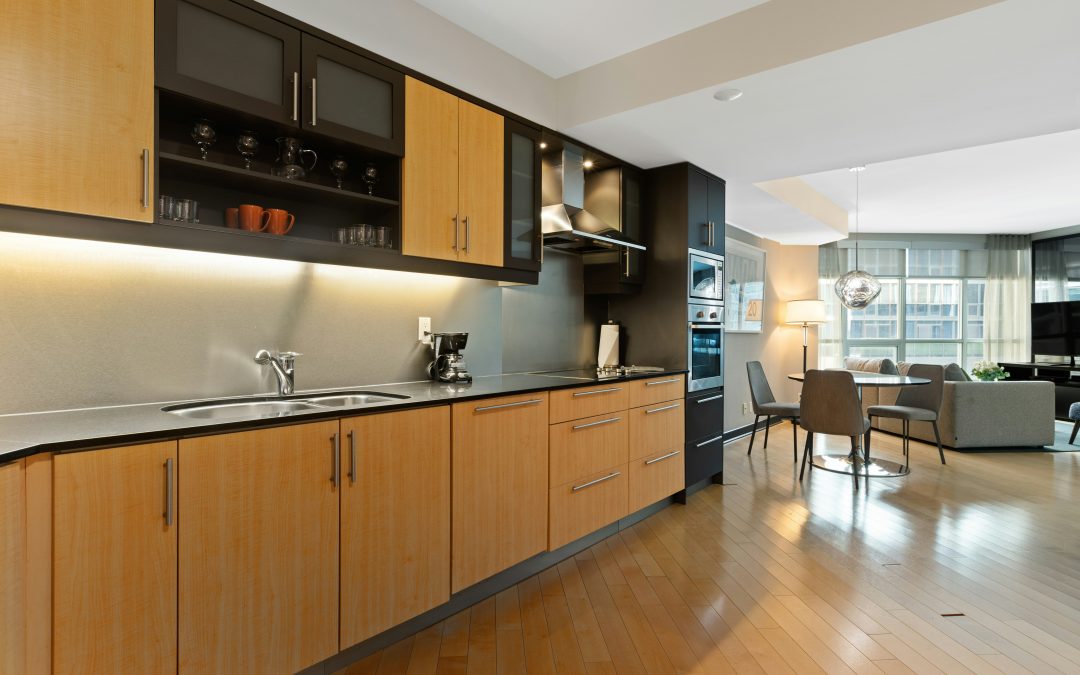
Painting cabinet doors can transform your kitchen or bathroom without the high cost of a full renovation. But one common challenge is figuring out how to paint cabinet doors on both sides without leaving marks, drips, or uneven finishes. Whether you’re refreshing old cabinets or giving them a bold new color, learning the right technique ensures a smooth, professional-looking result.
This guide will walk you through step-by-step instructions, useful tools, and practical tips to help you get a flawless finish on every side of your cabinet doors.
Why It’s Important to Paint Both Sides
Painting both sides of your cabinet doors isn’t just about aesthetics. It also protects the wood from moisture and prevents warping. When only one side is painted, humidity can cause uneven expansion, leading to cracks or bends over time.
Additionally, painting both sides ensures consistency — especially if your cabinets are in open areas where both sides are visible, like kitchen islands or glass-front cupboards.
Step 1: Remove the Cabinet Doors and Hardware
Before you start, remove the doors from the cabinets. Trying to paint them while attached is a recipe for streaks and awkward angles. Use a screwdriver to take off hinges, knobs, and handles. Label each door and its hardware so you can reassemble everything easily later.
Place all hardware in labeled plastic bags to avoid losing screws or mixing up hinges.
Step 2: Clean and Prep the Surface
Cabinets — especially kitchen ones — accumulate grease, dust, and residue. Clean them thoroughly using a degreaser or a mixture of dish soap and warm water. Let them dry completely before sanding.
Next, lightly sand the surface with 120- to 150-grit sandpaper. This helps the paint stick better and removes any old finish. Wipe away the dust with a tack cloth or microfiber towel before moving on.
Pro Tip: If your cabinets have glossy finishes, you may need to use a deglosser instead of sanding to ensure good paint adhesion.
Step 3: Set Up a Proper Painting Space
You’ll need enough space to paint and dry multiple cabinet doors at once. A clean garage, workshop, or covered outdoor area works best. Lay down drop cloths to protect the floor and set up sawhorses or a drying rack.
If possible, elevate the doors using painter’s pyramids, small blocks, or screws inserted into the hinge holes. This allows you to paint the edges and both sides without the door sticking to your surface.
Step 4: Prime Both Sides of the Doors
Priming is essential for achieving a smooth and durable finish. Use a high-quality primer designed for wood or laminate (depending on your cabinet material).
- Start by priming the back side of the door first.
- Apply a thin, even coat using a foam roller or a high-density paint brush.
- Let it dry completely (check the label for drying times).
- Flip the door and prime the front side the same way.
Once both sides are dry, lightly sand again with 220-grit sandpaper to smooth out any brush strokes or raised grain. Wipe off dust before painting.
Step 5: Paint the Back Side First
When learning how to paint cabinet doors on both sides, the key is patience and order. Always start with the back side — this way, if you accidentally leave small marks while flipping, they’ll be on the less visible surface.
Apply your first coat of paint with a foam roller for large flat areas and a brush for detailed edges. Use long, even strokes to avoid streaks.
Let it dry completely before flipping. Drying times vary depending on paint type — latex paint usually takes around 4 to 6 hours, while oil-based paint takes longer.
Tip: Don’t rush the drying process. Flipping too soon can cause smudges or fingerprints that ruin your finish.
Step 6: Paint the Front Side
Once the back is fully dry, flip the door carefully and paint the front side. Since this is the most visible part, take your time to ensure a flawless coat. Use light pressure and avoid over-brushing, which can leave marks.
If necessary, apply a second coat after the first one dries. Multiple thin coats look better and last longer than one thick coat.
Step 7: Allow Proper Drying Time
After painting both sides, let the doors dry completely before reattaching them. Ideally, allow 24 to 48 hours for curing. Setting up a vertical drying rack or using screw hooks on the top edge of each door can help save space and promote air circulation.
Never stack wet cabinet doors on top of each other — that’s a guaranteed way to ruin your work.
Step 8: Reassemble the Cabinets
Once everything is dry, carefully reinstall the doors and hardware. This is where labeling each door earlier will save you time and frustration. Check that each hinge is aligned properly and that doors open and close smoothly.
Take a final look under good lighting to ensure the paint coverage is even on all sides.
Common Mistakes to Avoid
When painting both sides of cabinet doors, these are the most common pitfalls:
- Skipping primer: Without primer, the paint may peel or chip over time.
- Applying thick coats: This causes drips and uneven drying. Always go with multiple thin coats.
- Flipping too early: Wait until the first side is completely dry to avoid smudges.
- Ignoring edges: Be sure to paint the sides of each door for a professional finish.
Best Paints for Cabinet Doors
Choosing the right paint is just as important as technique. The best types include:
- Acrylic latex paint: Easy to apply, fast-drying, and low-odor.
- Alkyd enamel paint: Extremely durable and smooth, great for high-use areas.
- Chalk paint: Popular for a rustic, matte look (but requires a protective top coat).
No matter the paint type, finish it off with a clear polyurethane or acrylic sealer for added durability and easy cleaning.
Final Thoughts
Learning how to paint cabinet doors on both sides is all about preparation, patience, and precision. By following the right steps — cleaning, sanding, priming, painting, and drying properly — you’ll get a professional-grade finish that lasts for years.
It may take a little extra time to do both sides, but the payoff is worth it. You’ll end up with cabinets that not only look great but are also well-protected from wear, humidity, and everyday use.