
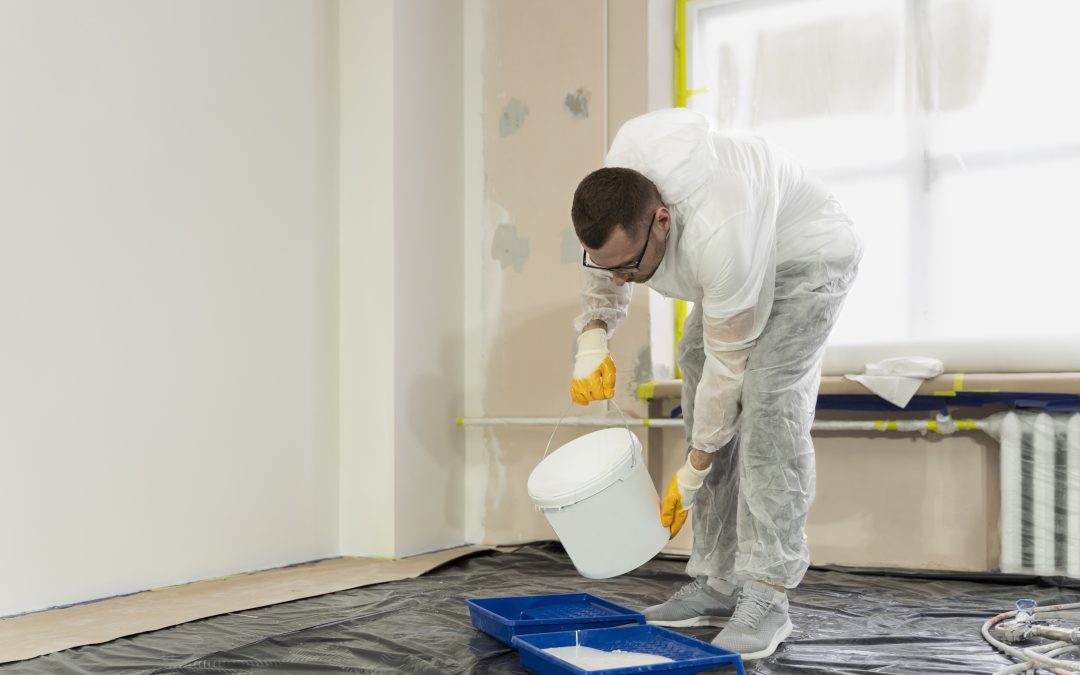
Thinking about giving your cabinets a fresh new look? Whether you want to brighten up your kitchen or just refresh your space, painting cabinets is one of the most impactful DIY projects you can tackle. But let’s be honest — painting cabinets can be tricky if you don’t know the right steps. That’s why I’m here to share some of the best cabinet painting tips and tricks to help you get a smooth, durable, and beautiful finish every time.
Why Paint Your Cabinets?
According to the National Kitchen & Bath Association, updated kitchens remain the top home improvement buyers look for. Painting cabinets is a budget-friendly way to modernize your space without a full remodel. Plus, with the right technique, you can get results that look just like a pro’s work.
Start With Proper Prep
The secret sauce to any great cabinet painting job is preparation. Skipping or rushing this step often leads to peeling paint or uneven surfaces later on.
- Clean Thoroughly: Grease and dirt can prevent paint from sticking. Use a degreaser or warm soapy water to scrub your cabinets before painting.
- Remove Hardware: Take off knobs, handles, and hinges to get a clean, smooth surface.
- Sand Lightly: Light sanding helps the paint adhere better. Use fine-grit sandpaper and be gentle — you’re just roughing up the surface, not stripping it.
- Fill and Repair: Fill any holes or dents with wood filler, then sand smooth once dry.
Choose the Right Paint and Tools
Not all paints are created equal when it comes to cabinets. You want something durable and easy to clean.
- Paint Type: Look for semi-gloss or satin finishes that hold up well against moisture and wear. Acrylic latex paint is a great choice for cabinets because it’s durable and low odor.
- Primer: A high-quality primer designed for cabinets ensures paint sticks well and covers any old stains or colors.
- Brushes and Rollers: Use a high-quality synthetic brush for detailed work and a foam roller for larger flat surfaces to avoid brush marks.
Use These Painting Techniques
How you apply the paint matters just as much as what paint you use.
- Thin Coats: Apply thin, even coats rather than one thick coat. This reduces drips and creates a smoother finish.
- Sand Between Coats: Once the first coat dries, lightly sand again with fine-grit sandpaper to remove bumps. Wipe clean before the next coat.
- Paint Doors Flat: Lay cabinet doors on a flat surface to paint. This prevents drips and lets you work comfortably.
Be Patient and Let it Cure
Rushing to use your cabinets too soon can ruin your hard work. Paint needs time to fully cure.
- Drying Time: Follow the manufacturer’s drying times between coats, usually a few hours.
- Curing Time: Cabinets can take up to a week or more to fully harden. Avoid heavy use during this time.
Bonus Tips for a Professional Look
- Use painter’s tape to protect walls and countertops.
- Consider spray painting for an ultra-smooth finish (just be sure to protect the surrounding area!).
- Reinstall hardware or upgrade knobs for an instant style boost.
- If you’re short on time, consider painting only the cabinet faces and doors, not the inside or sides.
A Quick Recap of Cabinet Painting Tips and Tricks
- Prep is key: clean, remove hardware, sand, and repair.
- Use semi-gloss acrylic latex paint with a primer.
- Apply thin coats, sanding lightly between them.
- Paint cabinet doors flat to avoid drips.
- Give plenty of drying and curing time for durability.
Final Thoughts
Painting your cabinets can transform your space without breaking the bank. With these cabinet painting tips and tricks, you’ll avoid common pitfalls and get a finish that looks smooth, lasts longer, and feels like a true upgrade.
Ready to roll up your sleeves and give it a try? Remember, a little prep and patience goes a long way. Happy painting!