
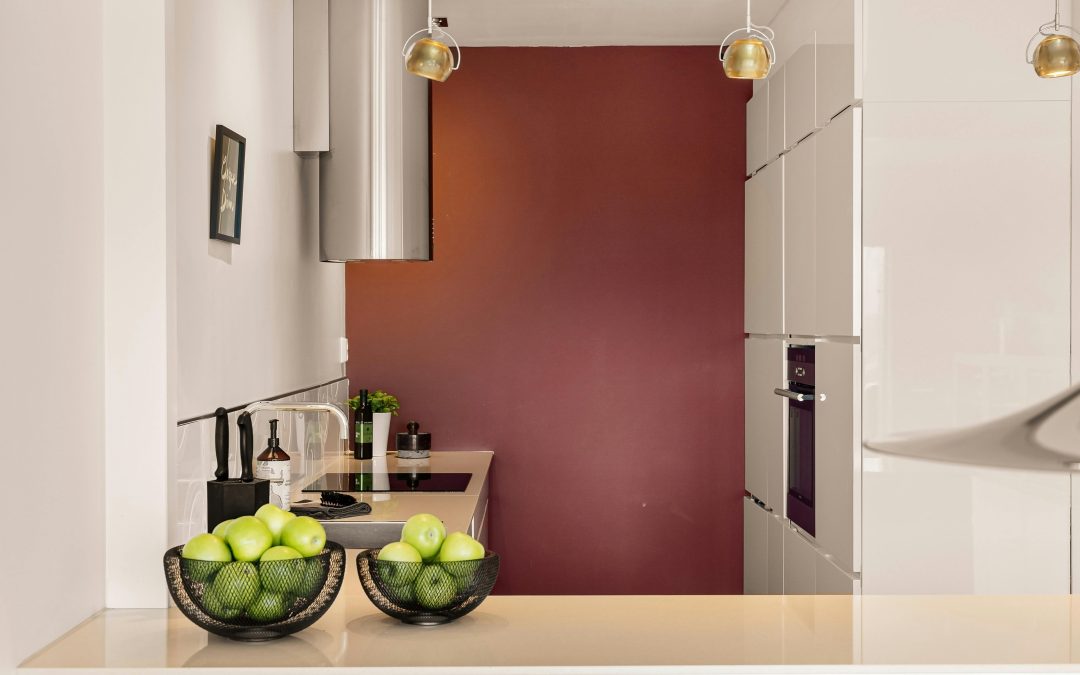
If your kitchen cupboards are looking dull or outdated, you might be wondering how to give them a fresh new look without a full renovation. Acrylic paint for kitchen cupboards can be an excellent solution. It is versatile, easy to use, and provides a durable finish that can withstand daily wear and tear. Whether you are a DIY enthusiast or a beginner, this guide will walk you through everything you need to know about painting your kitchen cupboards with acrylic paint.
Why Choose Acrylic Paint for Kitchen Cupboards
When considering a paint type for kitchen cupboards, durability and ease of cleaning are essential. Acrylic paint is water-based, dries quickly, and resists cracking or peeling over time. According to the American Coatings Association, acrylic paints are among the most durable and flexible paints available for household furniture.
Using acrylic paint for kitchen cupboards allows you to:
- Achieve a smooth, modern finish
- Choose from a wide range of colors
- Enjoy a low-odor and environmentally friendly paint
- Apply easily with brushes, rollers, or even spray equipment
Preparing Your Kitchen Cupboards
Before applying acrylic paint, proper preparation is key. Skipping this step can result in peeling or uneven coverage.
Steps include:
- Remove all cupboard doors, handles, and hardware
- Clean surfaces thoroughly to remove grease and dirt
- Lightly sand the surface to ensure paint adhesion
- Wipe down with a damp cloth to remove dust
Priming Your Cupboards
Priming is essential for a smooth and long-lasting finish. Use a high-quality primer suitable for wood or laminate surfaces. Applying a primer creates a uniform surface and improves paint adhesion, which is crucial when using acrylic paint for kitchen cupboards.
Tips for priming:
- Apply one thin coat and allow it to dry completely
- Sand lightly between coats for the smoothest finish
- Choose a primer that complements the color of your acrylic paint
Painting Techniques for Best Results
Once your cupboards are primed, it is time to apply acrylic paint.
- Use a high-quality brush for edges and detailed areas
- Rollers work well for flat surfaces to avoid brush marks
- Apply 2-3 thin coats rather than one thick coat
- Allow each coat to dry completely before applying the next
For a professional look, consider lightly sanding between coats. This technique ensures an ultra-smooth finish that lasts longer.
Finishing and Protecting Your Painted Cupboards
After the final coat of acrylic paint, you can apply a clear acrylic sealer for extra protection. This step is optional but recommended for kitchens since cupboards are exposed to moisture and frequent handling.
Sealer tips:
- Choose a matte, satin, or gloss finish based on your desired look
- Apply with a clean brush or spray for an even coat
- Let it cure for at least 24 hours before reinstalling doors and hardware
Benefits of Using Acrylic Paint for Kitchen Cupboards
Using acrylic paint provides several advantages:
- Fast drying and easy cleanup with soap and water
- Low odor makes it ideal for indoor projects
- Resistant to fading and yellowing over time
- Flexible enough to withstand expansion and contraction of wood
Additionally, acrylic paint allows for creative freedom. You can mix colors, create ombre effects, or even add decorative stencils for a unique touch.
Common Mistakes to Avoid
To ensure your kitchen cupboards look professional and last long, avoid these common mistakes:
- Applying paint on greasy or dirty surfaces
- Skipping primer on laminate or glossy surfaces
- Using thick coats that can drip or bubble
- Not allowing adequate drying time between coats
Being mindful of these pitfalls can save time and give you a flawless finish.
Conclusion
If you want to refresh your kitchen without a full renovation, acrylic paint for kitchen cupboards is a practical and attractive solution. With proper preparation, priming, and painting techniques, you can achieve a durable, beautiful finish that transforms your kitchen. Acrylic paint is cost-effective, easy to use, and offers endless possibilities for customizing your space. By following the steps in this guide, you can enjoy a vibrant and long-lasting kitchen makeover.